Scheduling emails is a simple feature that can make a big difference in how you manage your workload.
It’s perfect for coordinating with clients or teammates across different time zones, planning early morning emails, or timing your messages to reach inboxes at just the right moment.
In this guide, we’ll show you how to schedule an email in Gmail, Outlook, and even Brevo (for larger campaigns).
Why should you schedule emails?
Before getting into the how, let’s take a moment to talk about the why. Why bother scheduling emails instead of sending them on the fly? Here are a few key reasons.
1. Time zone coordination
Imagine you’re in New York, drafting an email to a client in London who’s fast asleep. Instead of hoping they'll see your message first thing in the morning, you can schedule it to arrive at 8 AM their time. It’s a considerate way to show you respect their schedule.
2. Better engagement
Emails sent at specific times, like early mornings on weekdays, often perform better than those sent at random hours. They’re more likely to be opened and clicked. If you’re not naturally an early bird, scheduling lets you reach people during these prime hours without breaking your routine.
3. Convenience for you and your recipients
Got your best ideas flowing at 9 PM but don’t want to disrupt someone’s evening? Write your email when it works for you, then schedule it to send at a more appropriate time. You’re making communication work on your terms.
How do I schedule an email in gmail?
Now that we understand the why, let’s look at the process.
Gmail’s schedule send feature works the same on Chrome, Safari, Firefox, and also Chromebook. Here’s how it works:
On computer
- Open your Gmail account and click compose on the top left to start a new email.
- Fill in all the details: the recipient's address, the subject line, and your message.
- Look for the small drop-down arrow next to the send button. Click it.
- Select schedule send from the dropdown menu.
- Gmail will suggest preset times (e.g., “Tomorrow morning”), or you can choose a custom date and time by clicking pick date & time.
- Once you’re happy with the time, click schedule send to confirm.
Good to know: You can have up to 100 scheduled emails at any given time
On mobile
- Open your Gmail app and tap the compose icon on the bottom right of your screen.
- Draft your email, including the recipient, subject, and body.
- Tap the three-dot menu in the top-right corner.
- Choose schedule send from the options.
- Like on the computer, you’ll see some preset options or have the choice to set your own date and time.
- Tap schedule send to finish.
Your email will now appear in Gmail’s scheduled folder, where you can manage it further.
Good to know: The steps for scheduling an email in the Gmail mobile app are the same for both iOS and android phones.
Managing scheduled emails
Plans change sometimes. You might need to edit or cancel a scheduled email. Here’s how:
View or edit scheduled emails
- Open Gmail and go to the scheduled folder in the left-hand menu.
- Select the email you want to adjust.
- To edit it, click cancel send. The email will move to your drafts folder.
- Make your changes, and then reschedule it using the steps above.
Cancel a scheduled email
If you no longer need the email to be sent:
- Go to the scheduled folder.
- Open the email you want to cancel.
- Click cancel send. The email won’t be sent and will be moved to drafts for safekeeping.
How to schedule bulk emails on Gmail
Sending mass emails in Gmail is easy, but if you want to schedule them for a later time, few extra steps are involved.
Here’s a step-by-step guide to scheduling bulk emails:
Step 1: Create your email
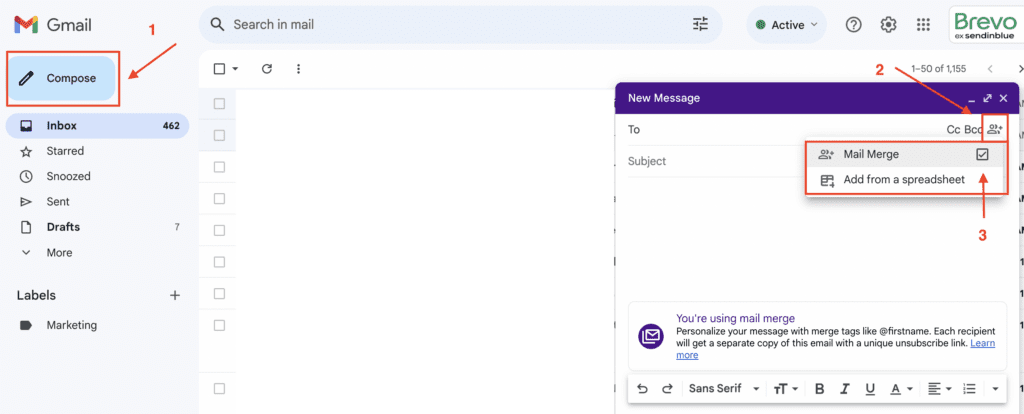
- Open Gmail and click compose.
- Draft your email, including the subject line and message body.
- Add recipients to the Bcc field (to protect their privacy). If you’re personalizing the emails using a tool like mail merge, you can skip this step for now and let the tool handle recipient insertion.
Step 2: Use a mail merge tool for personalization (optional)
If you’re personalizing your bulk emails:
- Set up a Google Sheet with columns for recipient details (like names, email addresses).
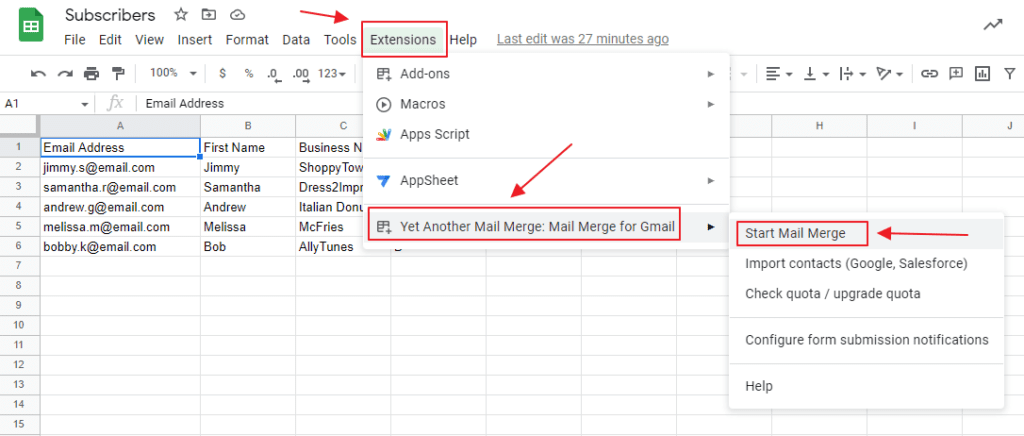
- Install a mail merge tool like Mailmeteor or Yet Another Mail Merge (YAMM).
- Write your email and use placeholders (e.g., first name) where you want personalization.
- Use the mail merge add-on to connect the Google Sheet to Gmail and automatically insert the personalized information.
Step 3: Schedule your emails
- Once the recipients are added, click the down arrow next to the send button.
- Select schedule send.
- Choose one of Gmail’s suggested times or click pick date & time to select your preferred delivery time from the pop-up calendar.
- Confirm your choice, and Gmail will queue the emails for delivery.
Why you should use an email marketing platform for bulk emails
If you’re looking for an easier and more efficient way to schedule your mass emails, an email marketing platform is the better choice. Here’s why:
- You get higher sending limits. Gmail limits you to 500 emails per day on free accounts and 2,000 on Google Workspace accounts. Email marketing platforms or a dedicated bulk email service tool like Brevo allow you to send to thousands of recipients without hitting a cap.
- It offers advanced personalization. With tools like dynamic fields and email segmentation, you can easily send tailored messages to different groups. In email marketing, this is key.
- You can time emails perfectly. Email service providers have features like "send at the best time," which makes sure your emails reach recipients when they’re mostly active and likely to open them.
- It tracks performance. Email marketing platforms provide data on open rates, click-through rates, and other email metrics so you can see how your emails are performing.
- It keeps you compliant with email laws. Built-in features like unsubscribe links and permission tracking help you follow regulations like GDPR and CAN-SPAM.
- Automation saves time. You can set up automated workflows for welcome emails, reminder emails, or follow-ups, freeing you from repetitive tasks.
- You get better email deliverability. These platforms are designed to handle bulk emails while reducing the chances of being marked as spam.
How do I schedule an email in Outlook?
Gmail isn’t the only email platform with scheduling features. If you’re a Microsoft user, here’s how to schedule an email in Outlook:
On computer (Outlook app)
- Compose your email as usual.
- Before sending, go to the options tab in the toolbar.
- Click delay delivery.
- In the “properties” window, check the box for do not deliver before and set your preferred date and send time.
- Close the window and click send. The email will be held until the scheduled time.
On web (Outlook online)
- Start a new email.
- Instead of clicking send, select the dropdown arrow next to it.
- Click send later.
- Choose your desired delivery date and time, then confirm.
Learn how to send mass email in Outlook in our quick and easy guide.
Schedule your email campaigns with Brevo
If you’re managing larger email campaigns, especially transactional emails, platforms like Brevo provide even more flexibility for sending emails.
It lets you plan, personalize, and schedule emails with ease, making it perfect for businesses that need to send a high volume of messages.
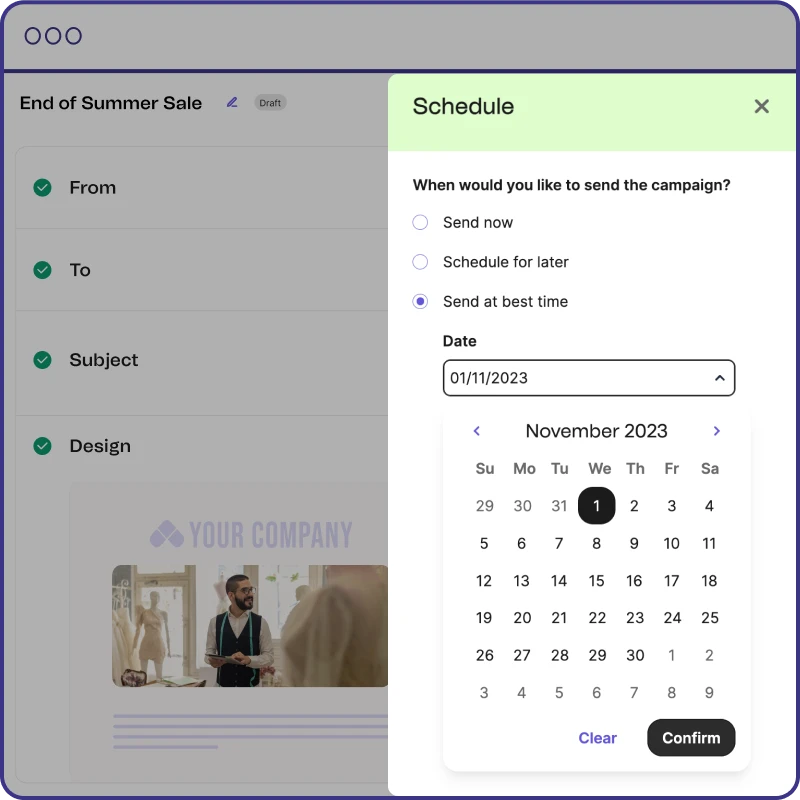
How to schedule email campaigns with Brevo
- Set up your campaign settings in Brevo including audience details and content.
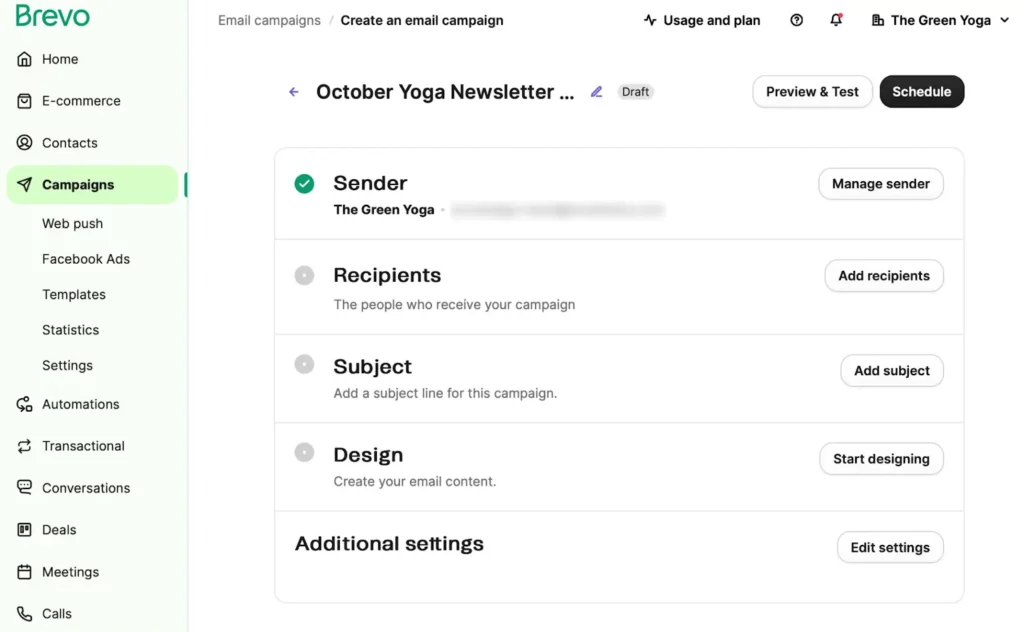
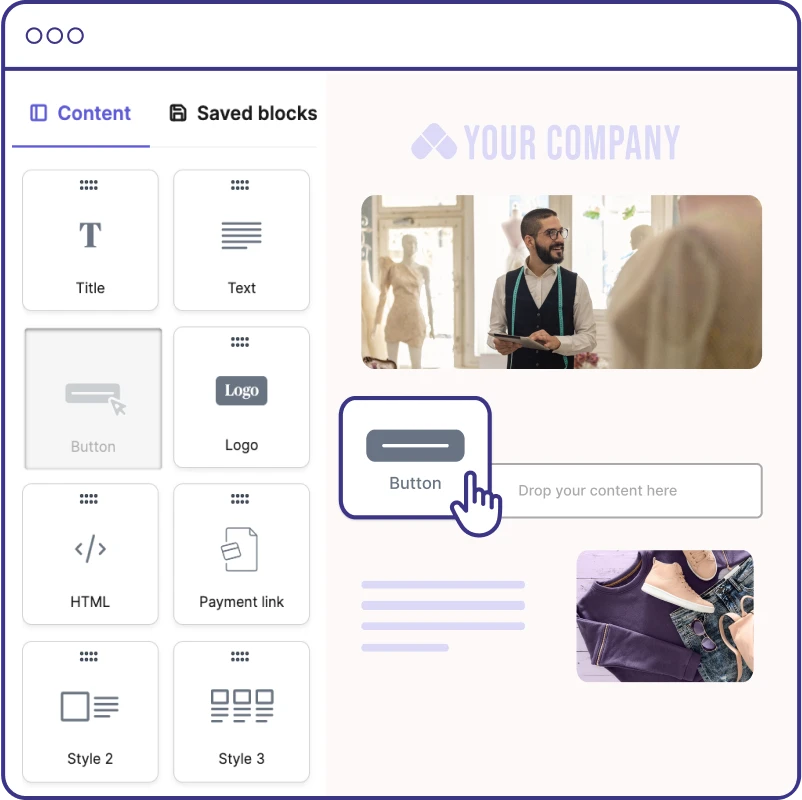
- Design your email using customizable email templates that look great on every device.
- Schedule the campaign by choosing when you’d like your email to be sent. (Send now, schedule for later or send at best time).
By choosing send at best time, Brevo uses user data to figure out the ideal time for your email to land in inboxes, for maximum engagement. Your emails will be sent to all recipients within 24 hours.
Ready to make scheduling your email campaigns easier and more efficient?