Learn how to whitelist an email in Gmail and Outlook in this step-by-step guide.
Imagine creating a perfect email message only for it to land in the spam folder. As a marketer, this is a setback you can’t afford. For recipients, it’s frustrating, especially if it’s an email you’ve been eagerly anticipating.
In 2023, 45.6% of emails were identified as spam according to Statista. To avoid being part of this statistic, it's crucial to encourage your recipients to whitelist you. Getting your emails whitelisted is the secret ingredient to ensuring your messages consistently reach your customers’ inboxes.
In this guide, you’ll learn how to whitelist an email in Gmail and Outlook. By following these steps, you’ll maximize your open rates and enhance the overall impact of your campaigns.
Table of Contents
What is email whitelisting?
To keep it simple, it means adding specific email addresses to an approved senders list, preventing their emails from ending up in the spam folder. It’s telling your email service provider (such as Gmail, Outlook, Yahoo mail, Apple mail or AOL) that you know the sender and you want to receive their email messages.
By adding the sender’s email to your address book, you signal to your email provider that emails from these addresses are trustworthy and should always be delivered straight to your inbox.
This practice benefits both email senders and recipients. As a recipient, you ensure that important emails from particular senders aren’t lost in the spam folder. As a sender, it significantly improves your email deliverability. The more eyeballs on your emails, the more engagement and conversions you’ll generate — a key goal for every email marketer.
How to whitelist an email in Gmail
While its spam filter is pretty solid, Gmail occasionally takes away emails you want or need to receive. These emails end up in the junk folder. Thankfully, Gmail makes it easy to whitelist email addresses you trust so that they end up in your inbox.
Now let’s walk through the steps of how to whitelist an email in Gmail.
On desktop
- Sign in to your Gmail account.
- Click the gear icon on the top-right, then select See all settings.
- Click the Filters and Blocked Addresses tab.
- Click on Create a new filter, and a pop-up will appear.
- Enter the email address or domain name you wish to whitelist in the textbox labeled From.
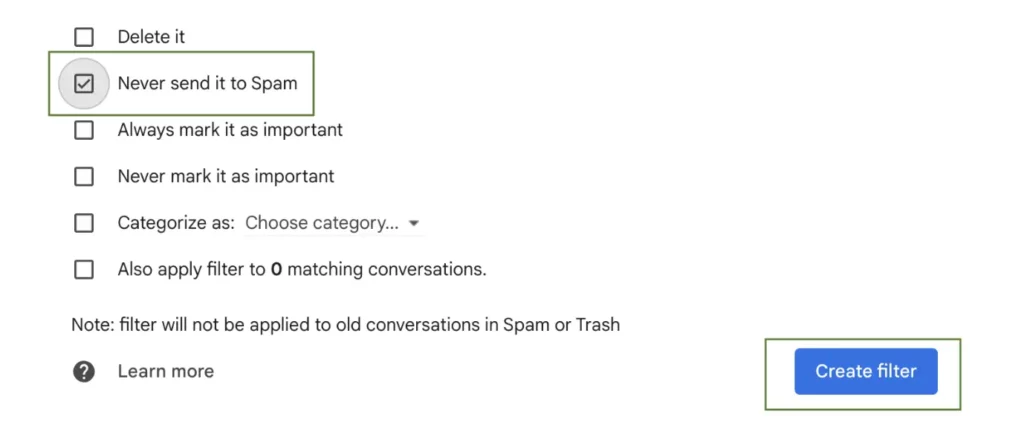
- Click Create Filter.
- Check the box next to Never send it to Spam to add the address to the safe sender list
You're all set — your email address is now successfully whitelisted.


Additionally, you can take intermediate or advanced steps. For example, you can choose to categorize the email message as primary, marking it as important. You can also create a label and file the emails in one folder, helping you to organize your inbox more efficiently.
On a mobile app (iPhone and Android)
For smartphone users, there’s no direct way to whitelist an email in Gmail per se. However, there’s a way to indicate to Gmail that you’d like to receive emails from a particular sender.
So let’s see the steps you can take to make sure emails from your desired sender make it to the inbox.
On an iPhone:
- Log into your Gmail app.
- Open the Spam folder, find the email you want to whitelist and click on it.
- At the top, you’ll see a gray square with the option to Report not spam. Click on it and you’re done. This instructs Gmail not to send such emails to the spam folder.
Alternatively, you can tap the three dots on the top right corner and select Not spam.
On an Android
- Open the Contacts app.
- Locate Add. (bottom or top right depending on your phone).
- Enter the contact name and email address.
- Click Save to add contact, and you’re all set!
Want to learn more? Discover how to send mass email in Gmail in our step-by-step guide.
How to whitelist an email in Outlook
Outlook's security measures are more stringent compared to Gmail, underscoring the importance of whitelisting. Here’s how you can whitelist an email on outlook.com (formerly Hotmail).
- Log in to your Microsoft Outlook account.
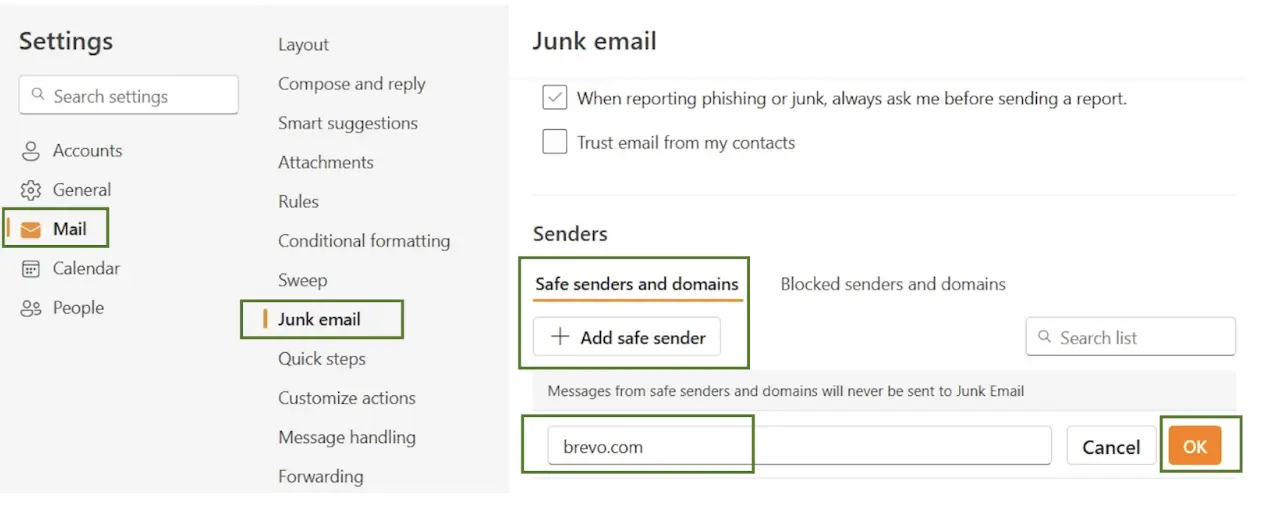
- Click the gear icon on the top-right and select View all Outlook settings.
- Click Mail on the left sidebar.
- Select Junk email in the drop-down menu.
- Under Safe senders and domains section, click +Add safe sender.
- Enter the email address or domain name you want to whitelist and click OK to Save.

That’s it — Your email addresses are now whitelisted.
Learn how to send mass email in Outlook in our quick and easy guide.
Best practices to stay out of spam beyond whitelisting
The goal is to reach the intended inbox, not the dreaded spam folder. Let’s have a look at how you can achieve this.
Authenticate your domain
Authenticating your domain verifies your emails as legitimate, setting your business apart from spammers. This step significantly increases the chances of your emails landing in your recipients’ inboxes.
Implementing email authentication protocols like DKIM (DomainKeys Identified Mail), and DMARC (Domain-based Message Authentication, Reporting & Conformance) enhances your email's credibility and deliverability. If this sounds a little mind-bending, don’t worry, we’ve got a step-by-step explainer on how to authenticate your email.
Platforms like Brevo simplify these authentication processes, allowing you to seamlessly integrate these protocols into your email strategy, boosting your reputation and deliverability.
Further reading: Understanding Email Authentication Protocols: SPF, DKIM, and DMARC
Build and maintain a clean email list
Focus on quality over quantity. Aim at growing a high-quality email list with an engaged subscriber base. Use double opt-in methods to ensure your subscribers genuinely want to hear from you. This reduces the chances of your emails being marked as spam.
Additionally, regularly use email list cleaning tactics to remove inactive subscribers because people’s interests change over time. This helps maintain a responsive audience and boosts deliverability.
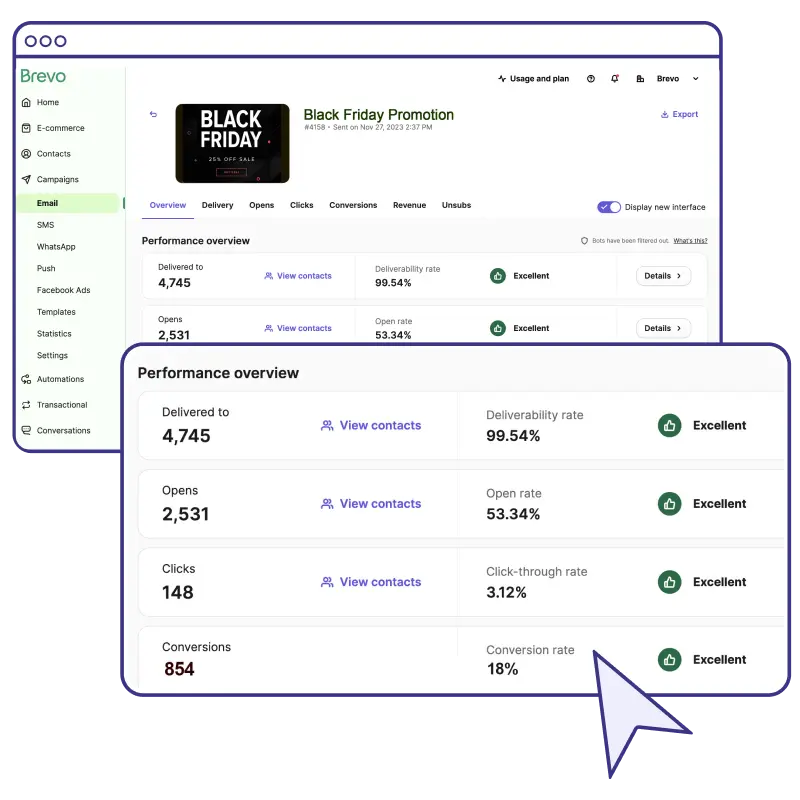
Not sure where to start? Brevo’s analytics dashboard provides insights into the health of your email list.

Craft high-quality content
Content is king. Use email segmentation and create relevant and personalized content to enhance engagement.
Also, be careful with spam triggers. Spammy language, excessive use of capital letters and exclamations don’t work on today’s modern audiences. They see it as shouting and will likely mark you as spam.
Comply with data privacy regulations
Always seek permission from your contacts before sending emails. Forcing emails on unwilling recipients will make them mark your email messages as spam. Also, make sure your unsubscribe options are visible and easy to use. Don’t hide them from your subscribers..
Brevo automates this process, allowing recipients who wish to opt-out can do so effortlessly. Additionally, ensure compliance with regulations such as GDPR, CAN-SPAM Act, and CASL to maintain trust and avoid penalties.

Upgrade from free emails
The only thing that’s standing between you and a successful business built on a solid subscriber list could be that free email address.
Free emails easily obtained from popular email providers like Gmail and Microsoft, (eg, [email protected] or [email protected]), are suitable for personal use but lack the professionalism needed for business communication. This is why they’re potential candidates for the spam folder.
On the contrary, a professional email gives a sense of trustworthiness and credibility. Having your company name in the email address and email sender name makes it recognizable and enhances your brand image.
Run email tests
Test your email messages to make surethey hit the mark.It helps you catch any technical glitches before they reach your subscribers, ensuring smooth delivery and engagement.
Brevo offers a range of testing options to optimize your campaigns effectively, including sending test emails, A/B testing, and preview features to see how your email campaign will appear across different email clients and devices. This approach not only keeps your emails out of the spam folder but also ensures they deliver impactful messages that resonate with your audience.
Whitelist your email with Brevo
Email Marketing Services (EMS) ask email providers like Gmail to whitelist your domain or IP address. This underscores the importance of using a reputable EMS such as Brevo instead of sending emails from your personal email server or account.
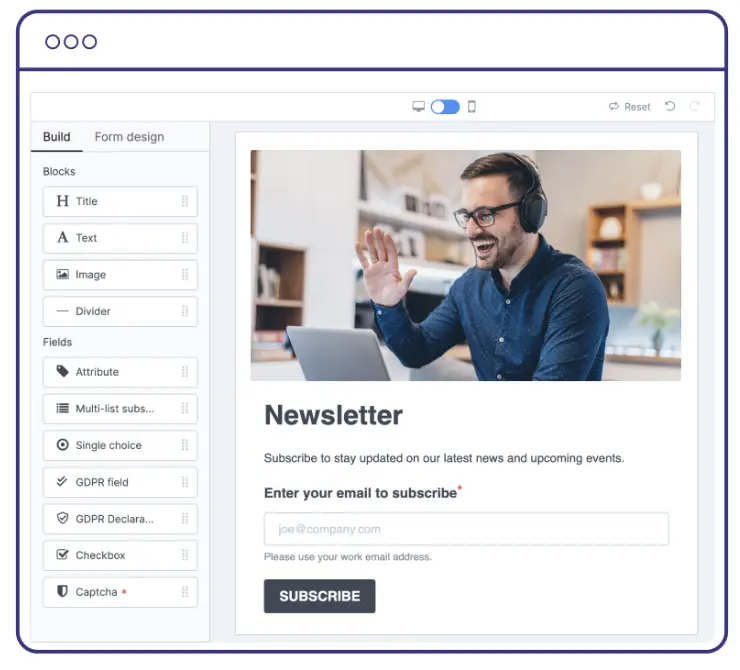
Moreover, when confirming new subscribers (e.g., through a welcome email), ask them to whitelist your email address and add it to the contact list. This ensures they never miss any communication from you and helps all future emails bypass spam filters — a simple practice that can work wonders with just a simple ask.
Now that you've learned how to whitelist emails, are you ready to enhance your email deliverability? Try Brevo today to elevate your email marketing success!


