Win back inactive subscribers with an automated and tailored reactivation email they won’t be able to resist.
You invested time and energy into building your email list, you crafted the perfect welcome email, but now some subscribers seem to have lost interest. Maybe they’re not clicking your emails anymore, or maybe the customer hasn’t purchased in a while.
Let’s be honest, in life it’s easy to lose interest. Say you picked up a new hobby but were a bit busy to keep it up, or joined a club and got out of the habit of going. That doesn’t mean you couldn’t be persuaded to give it another go, right?
Well it’s the same with email marketing - sometimes your subscribers just need a little push. And that’s where the reactivation email comes in.
Reactivation Emails: The Basics
So you’ve decided you want to re-ignite subscribers' interest in your brand and content with a reactivation email. But what exactly do we mean by this?
What is a reactivation email?
A reactivation email, or re-engagement email, is sent to try and re-engage inactive subscribers - contacts who are no longer interacting or interacting less with your email campaigns.
This article will take you through everything you need to get started with reactivation emails, including:
- Reasons to send a reactivation email
- Reactivation email best practices and common mistakes
- Example reactivation emails
- Creating reactivation emails with Brevo
Since reactivation emails are triggered by subscriber behavior, such as a period of inactivity, you’ll need to create an automated workflow. If you’re not familiar with setting up automated emails, check out our comprehensive email automation guide.
Why Send a Reactivation Email?
If you’ve read our blog post on building relationships with email marketing, you’ll know just how important it is to nurture the contacts and customers you already have. After all, these are people who have already shown an interest in your brand - and it’s normally less expensive than finding new contacts.
A reactivation or re-engagement email campaign can:
- Improve your engagement stats
- Increase sales
- Improve deliverability
- Help you clean your email list
The bottom line is, you can keep building your subscriber count but unless your audience is actually engaging with your emails your efforts will have limited value.
How to Write a Reactivation Email
Reactivation Email Best Practices
- Use a great subject line. When trying to re-engage subscribers, the first step is to make sure they open your email! Read our article on writing fantastic email subject lines for some tips.
- Get personal. Personalizing your email will show the subscriber you know them and understand their needs and interests.
- Time it right. Don’t wait too long to send your reactivation emails - contact subscribers before they completely disengage.
- Remember to test. You can’t know for sure what will work for your audience without testing it. Optimize your workflow by testing elements like subject lines, content, or email frequency and timing.
Common Mistakes in Reactivation Emails
- Stopping at one email. If a subscriber’s engagement drops it’s likely to take more than one email to win them back. Plan a series of emails that will gradually re-engage them.
- Sending the wrong type of reactivation email. When planning your reactivation campaign you should consider the target audience and their reasons for disengaging in the first place. That way you'll ensure the email content matches their needs.
- Continuing to contact disengaged subscribers. If a subscriber still isn’t interested, let them go - reactivation emails should also help you identify truly inactive subscribers who should be removed.
5 Reactivation Email Examples to Inspire You
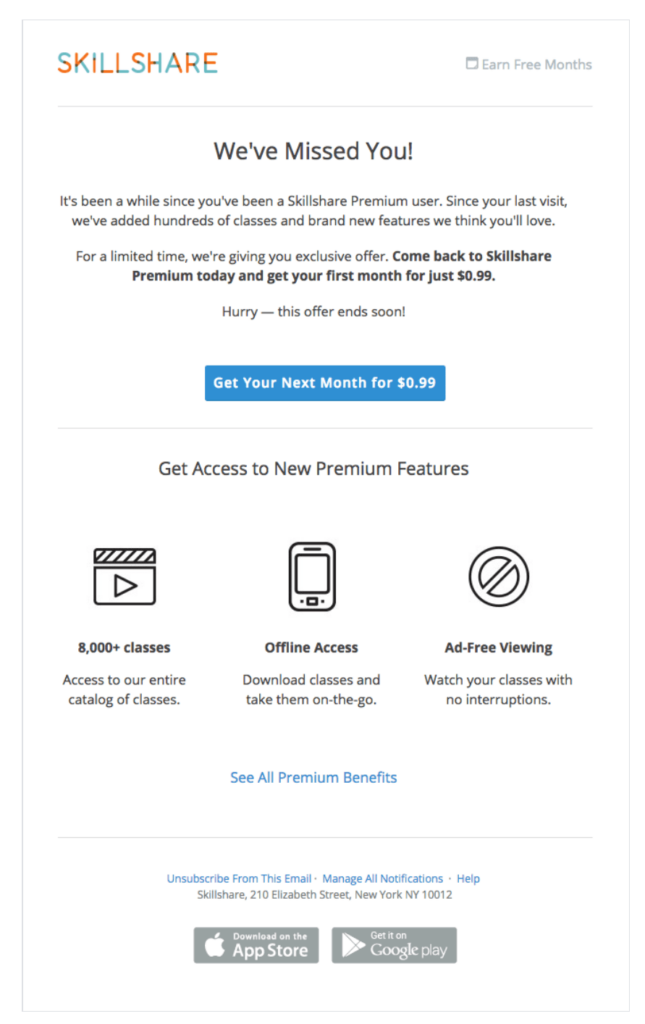
1. The ‘We’ve Missed You’ Email
This strategy puts the focus on the user - it shows them they’re valued. Rather than dwelling on the fact that they’ve been inactive, give them a gentle reminder of why they signed up in the first place.

2. The Special Offer Email
Everyone loves a bargain. So what better way to lure back subscribers and stand out from competitors than with an exclusive offer?
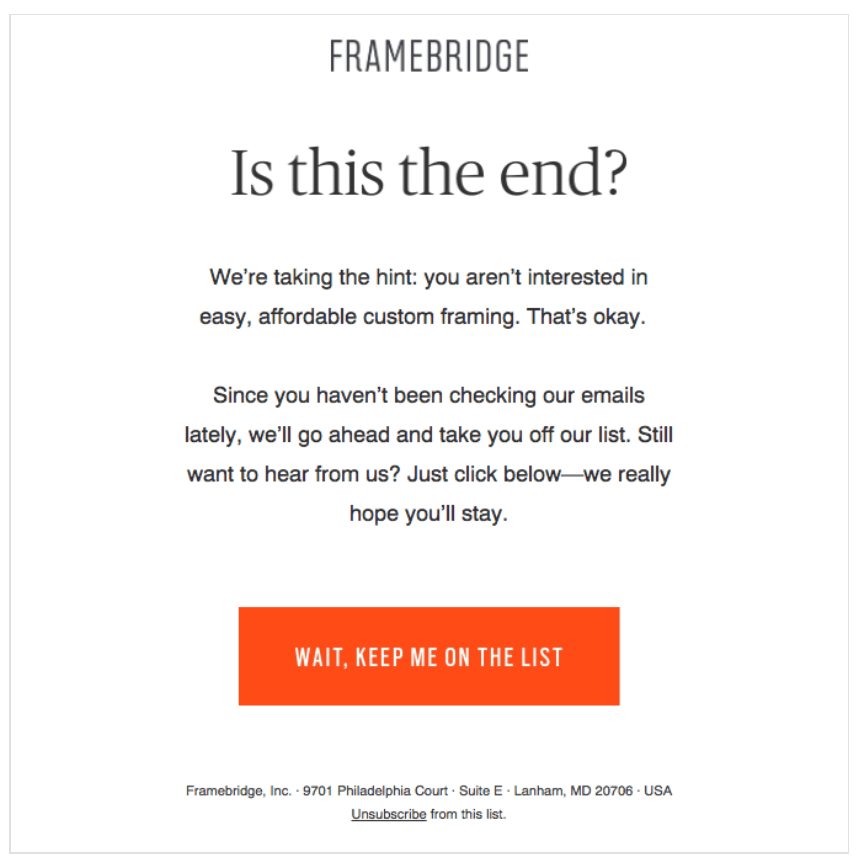
3. The ‘Do You Still Want to Hear From Us?’ Email
Even if a subscriber hasn’t actually opted-out, sometimes removing them from your list is the best option. If not, these subscribers risk hampering your engagement metrics, and in turn your deliverability.
To find out if a subscriber is truly disengaged, just ask! If they respond negatively or don’t respond at all, be sure to remove them - chances are if they still aren’t interested then they won’t be in the future either.
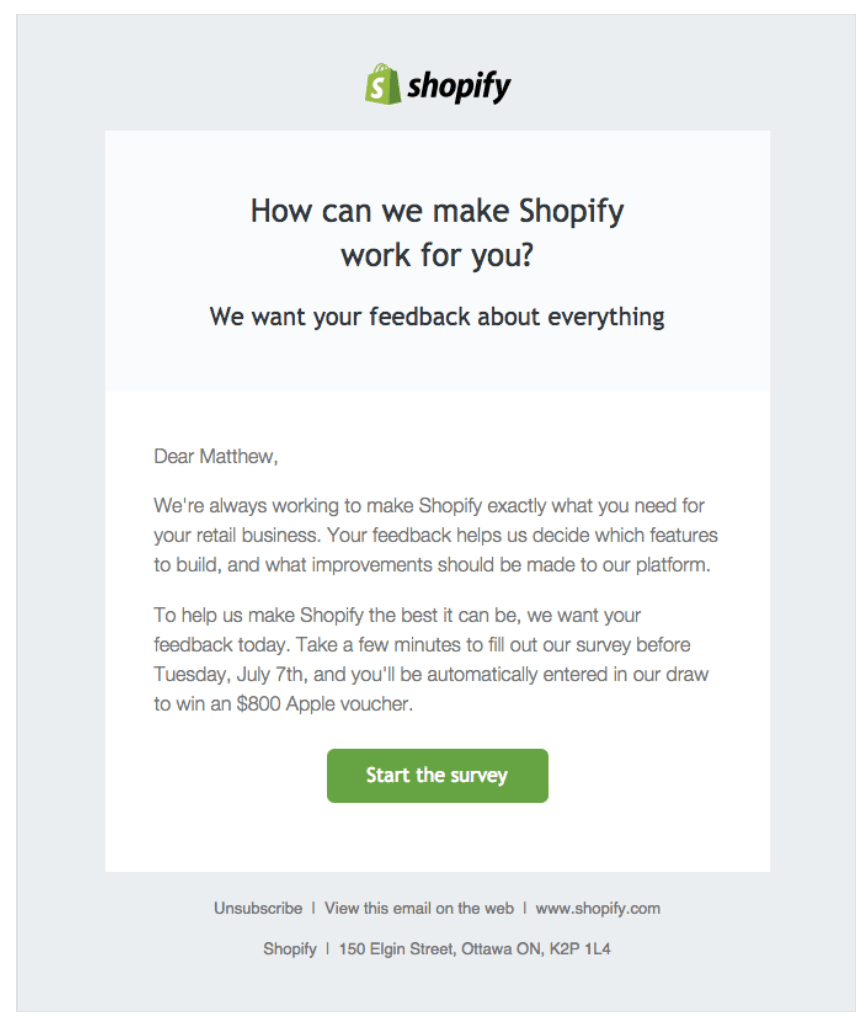
4. The Request for Feedback Email
Similar to the example above, this email puts the power in the hands of the subscriber by asking them what they’d like to see in your emails. Even if this doesn’t manage to re-engage them, you’ll still gain useful feedback for your future emails.
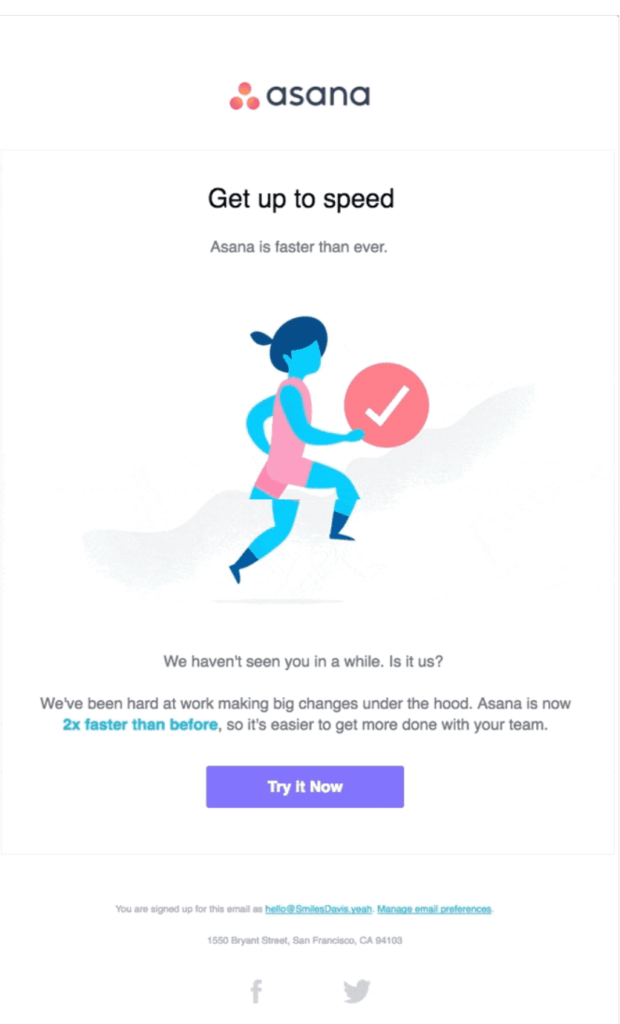
5. The ‘Here’s What You’ve Missed’ Email
Sometimes poor engagement doesn’t mean a subscriber will never be interested. Don’t forget, you’re not the only company sending them emails! In fact, almost 75% of American consumers say they feel overwhelmed by how many emails they receive.
It's possible your emails are getting lost in the subscriber’s inbox. Highlight to your subscribers what you have to offer by giving them a chance to catch up on what they missed, such as recent useful content or new features.
Creating a Reactivation Email with Brevo
Brevo’s marketing automation software enables you to create your own reactivation emails, tailored to your needs. You can try it out for free today by creating an account.
Step 1: Identify your inactive subscribers
First you need to decide which subscribers should receive your reactivation emails. You could base this on email opens or clicks, or product purchases. You’ll also need to determine the time frame of inactivity.
Your chosen time frame will depend on the company profile, as well as how often you email subscribers. However, 90 days is generally a good rule of thumb. Where subscribers have been inactive for much longer (around 6-12 months), you should remove them from your list.
Once you've decided on your conditions, you can create the segment using Brevo's search filters function.
Step 2: Plan and design your reactivation emails
The next step is to design your series of emails. You could start with an email to get the subscriber’s attention, then follow up with another that further emphasizes your value for them. Your final email should offer a last chance that will make the subscriber want to stay.
Once you have a plan, begin writing your content and creating the email. With Brevo, our simple Drag & Drop editor and ready-to-use email templates make this easier than ever!
Once you are finished, save your email templates on your Brevo platform.
Step 3: Set up your workflow
For this type of automated email, you’ll need to use Brevo’s custom workflow option.
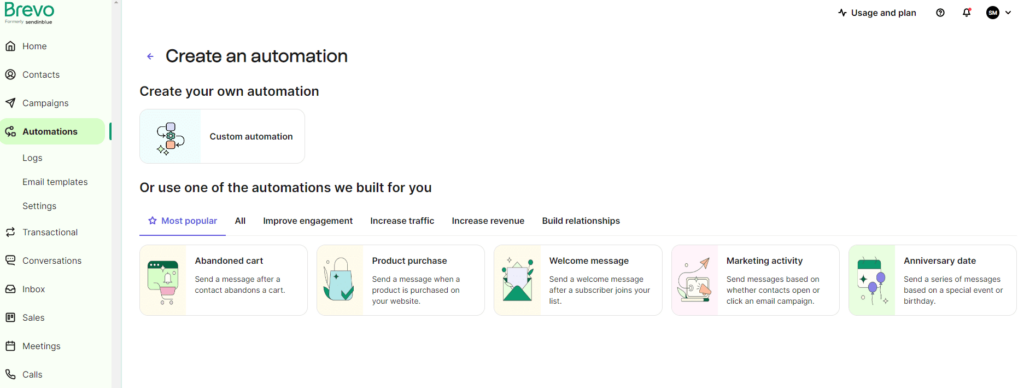
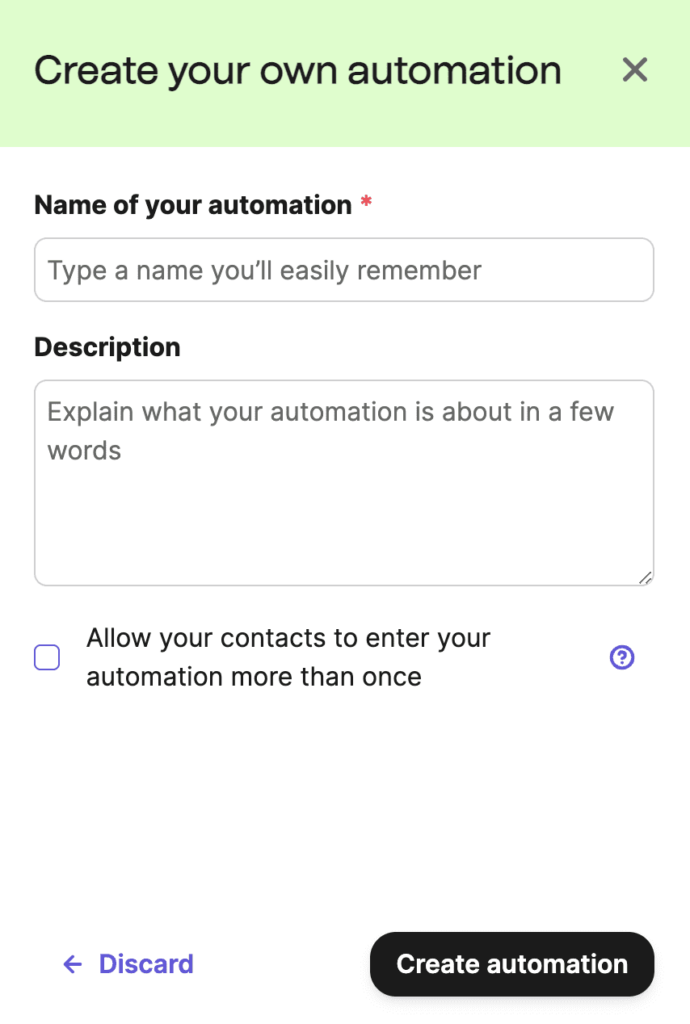
From there you will be prompted to name and describe your custom workflow. Fill in your details and click "Create automation."
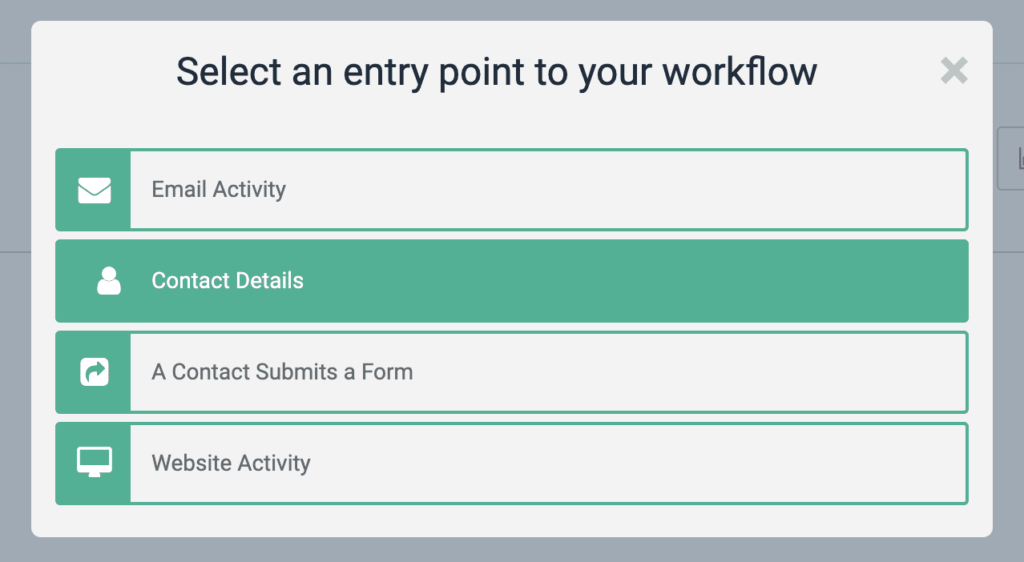
Then you will need to select an entry point type “Contact Details” and "Contact filter conditions". From there you can select the filter you have already created.
For more information read our article on creating a workflow on Brevo for a saved segment
Next, to add the actions, click the circular plus button. From there, Brevo will prompt you to choose an action. In this case ‘Send an email’, and add the email templates you created.
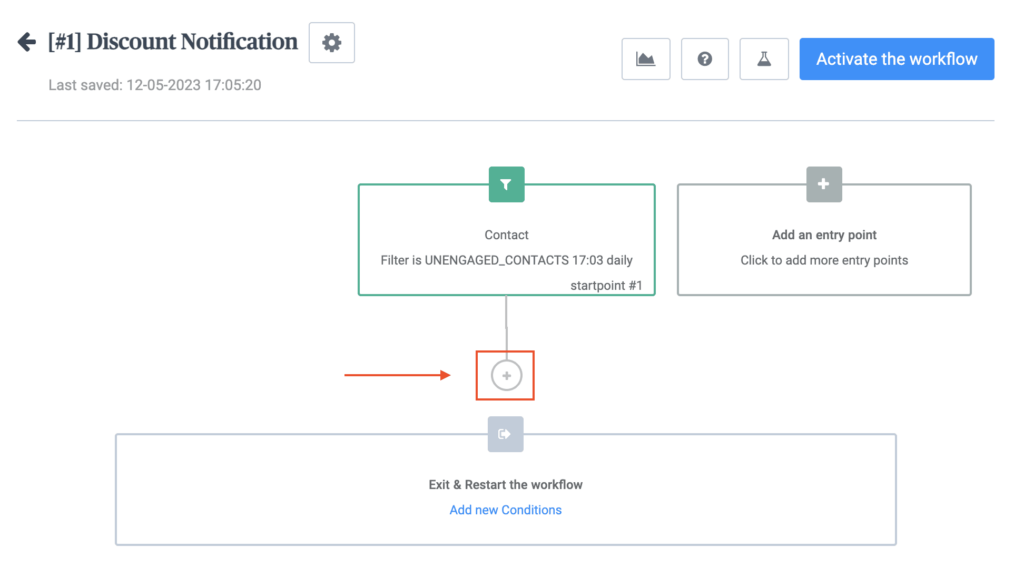
You can also add some additional conditions to your workflow, such as adding a delay or an A/B split test.
Once you’ve finished creating your workflow you can test it by clicking the chemistry test tube icon next to "Activate the workflow", or click "Activate the workflow" to set it into action.

Try Out Reactivation Emails Today
Want to give reactivation emails a try? With Brevo's easy-to-use custom workflows, you can create reactivation emails that are sure to win back your inactive subscribers and up engagement.
Get started today with our free plan and send automated emails to up to 2,000 contacts, or you can select a paid plan that fits your needs and budget.


